
MyCheck In-Office Water Test
IN-OFFICE SCREEN FOR BACTERIA
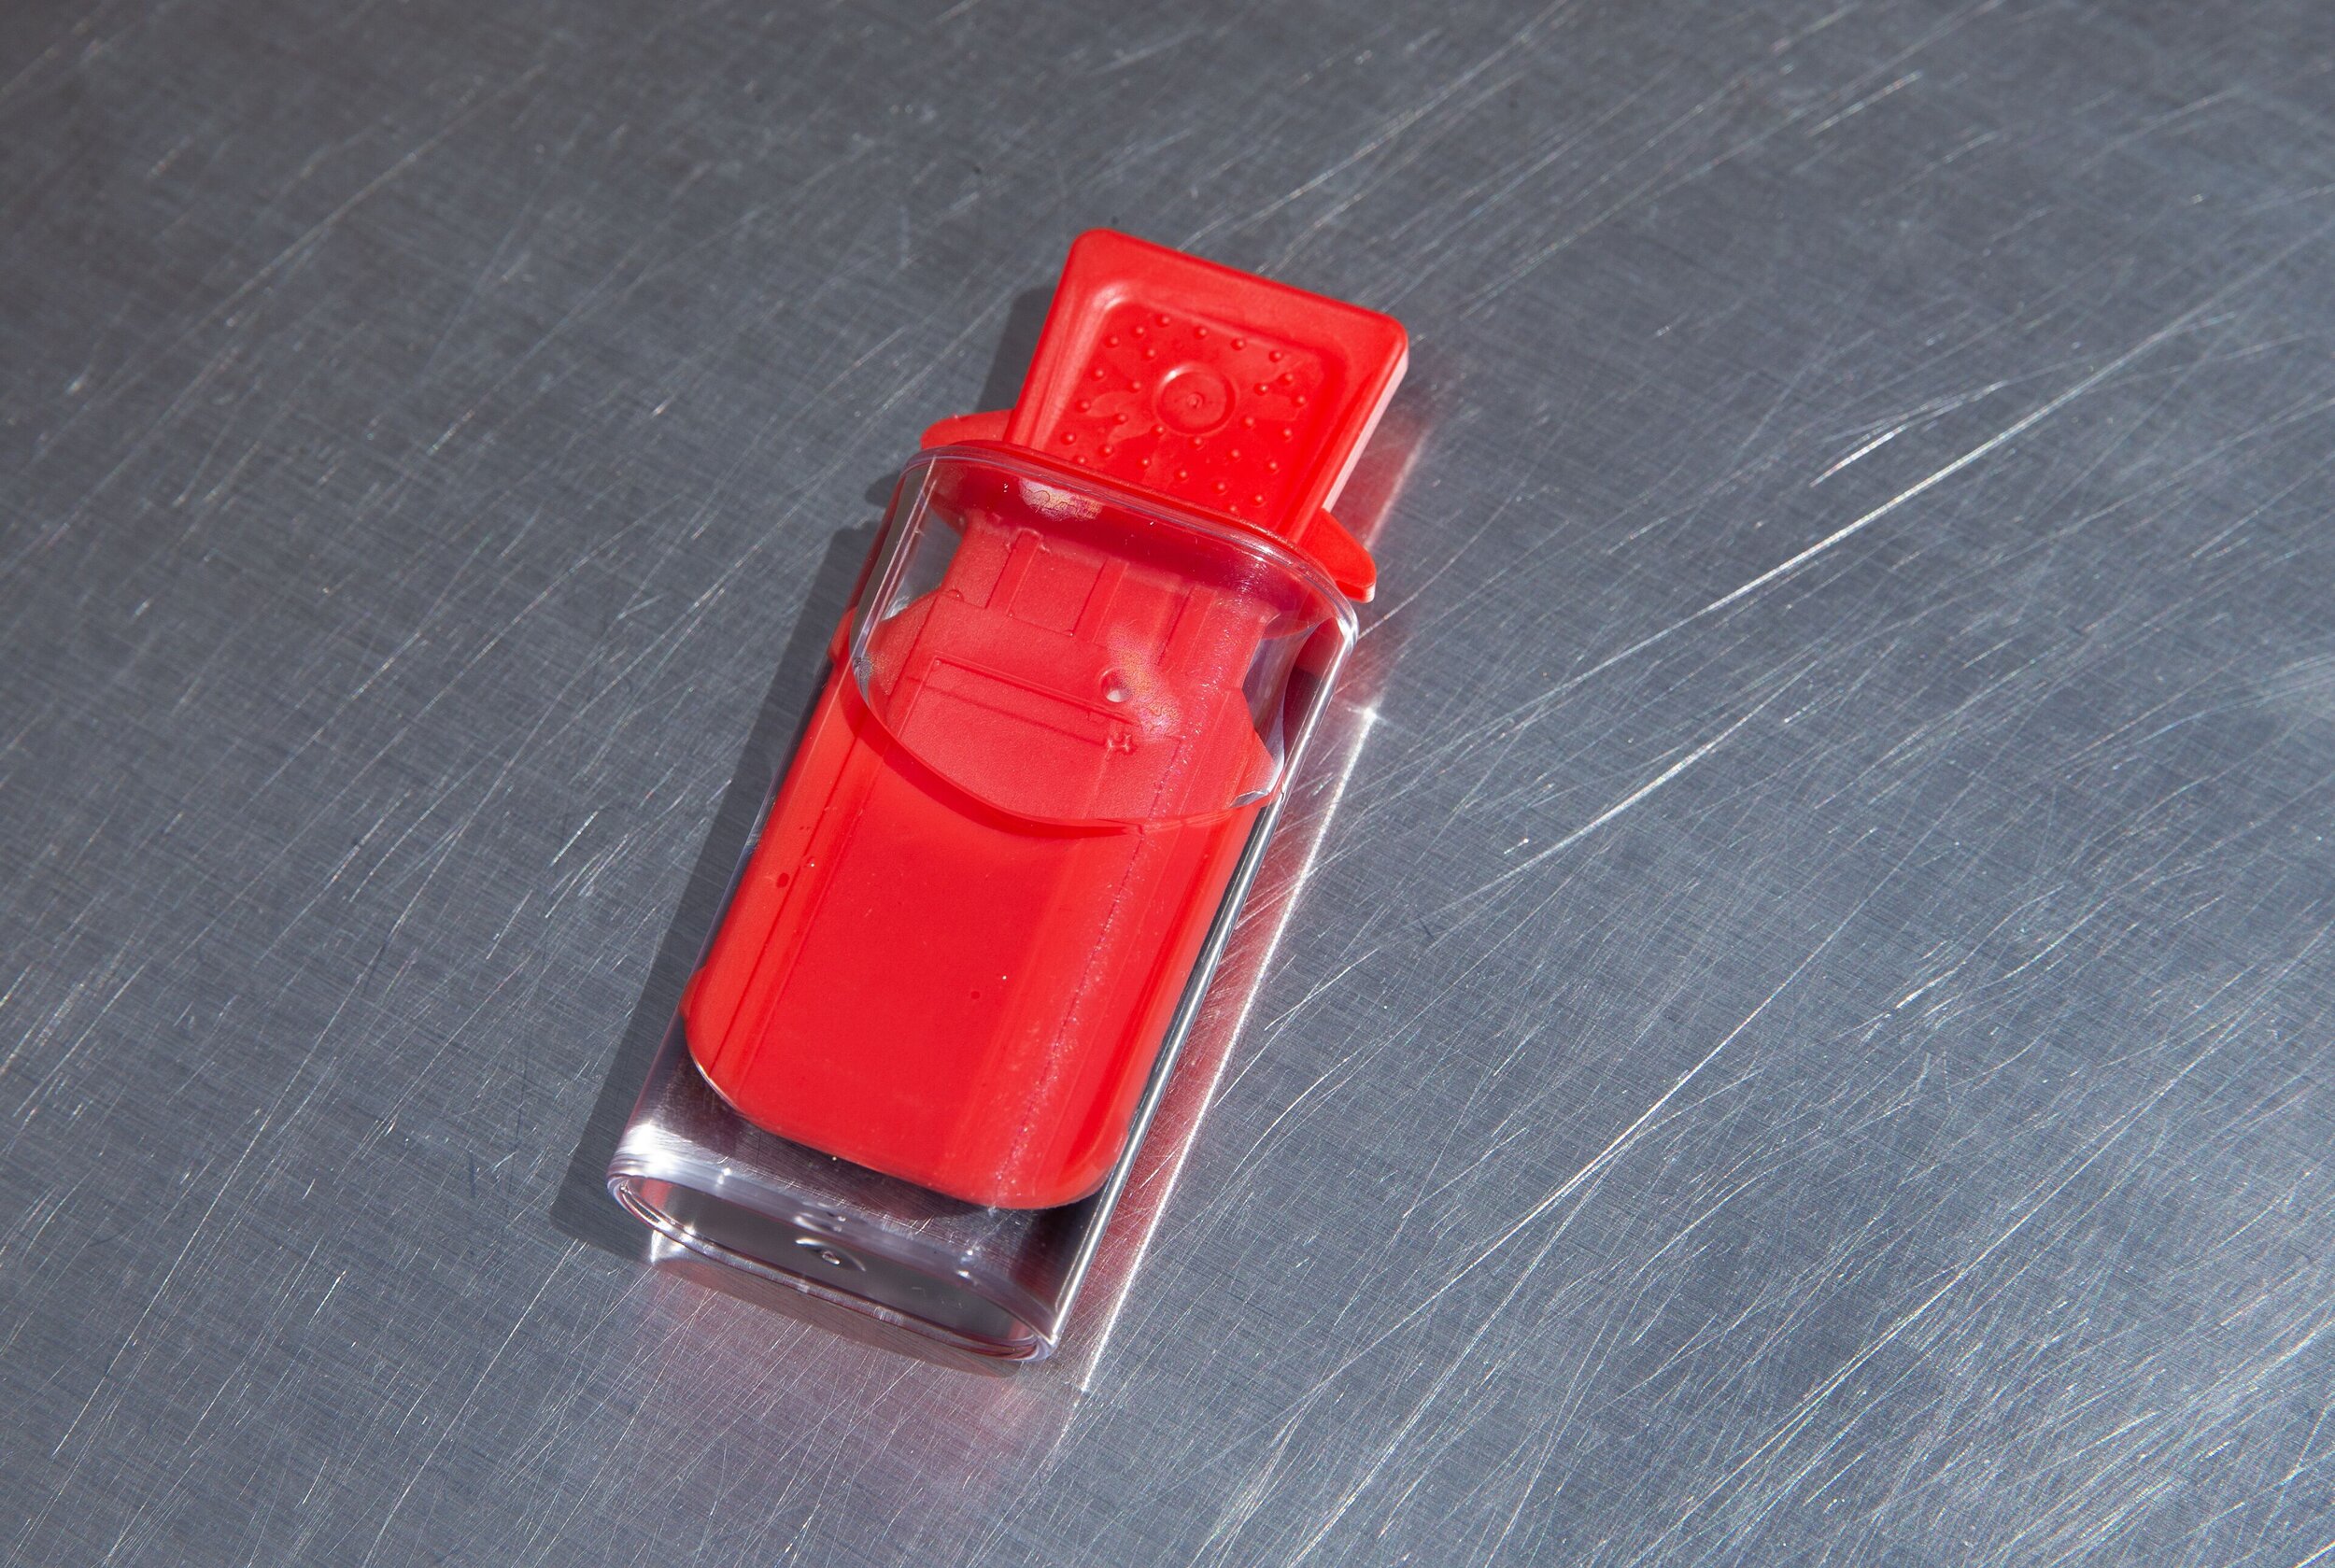
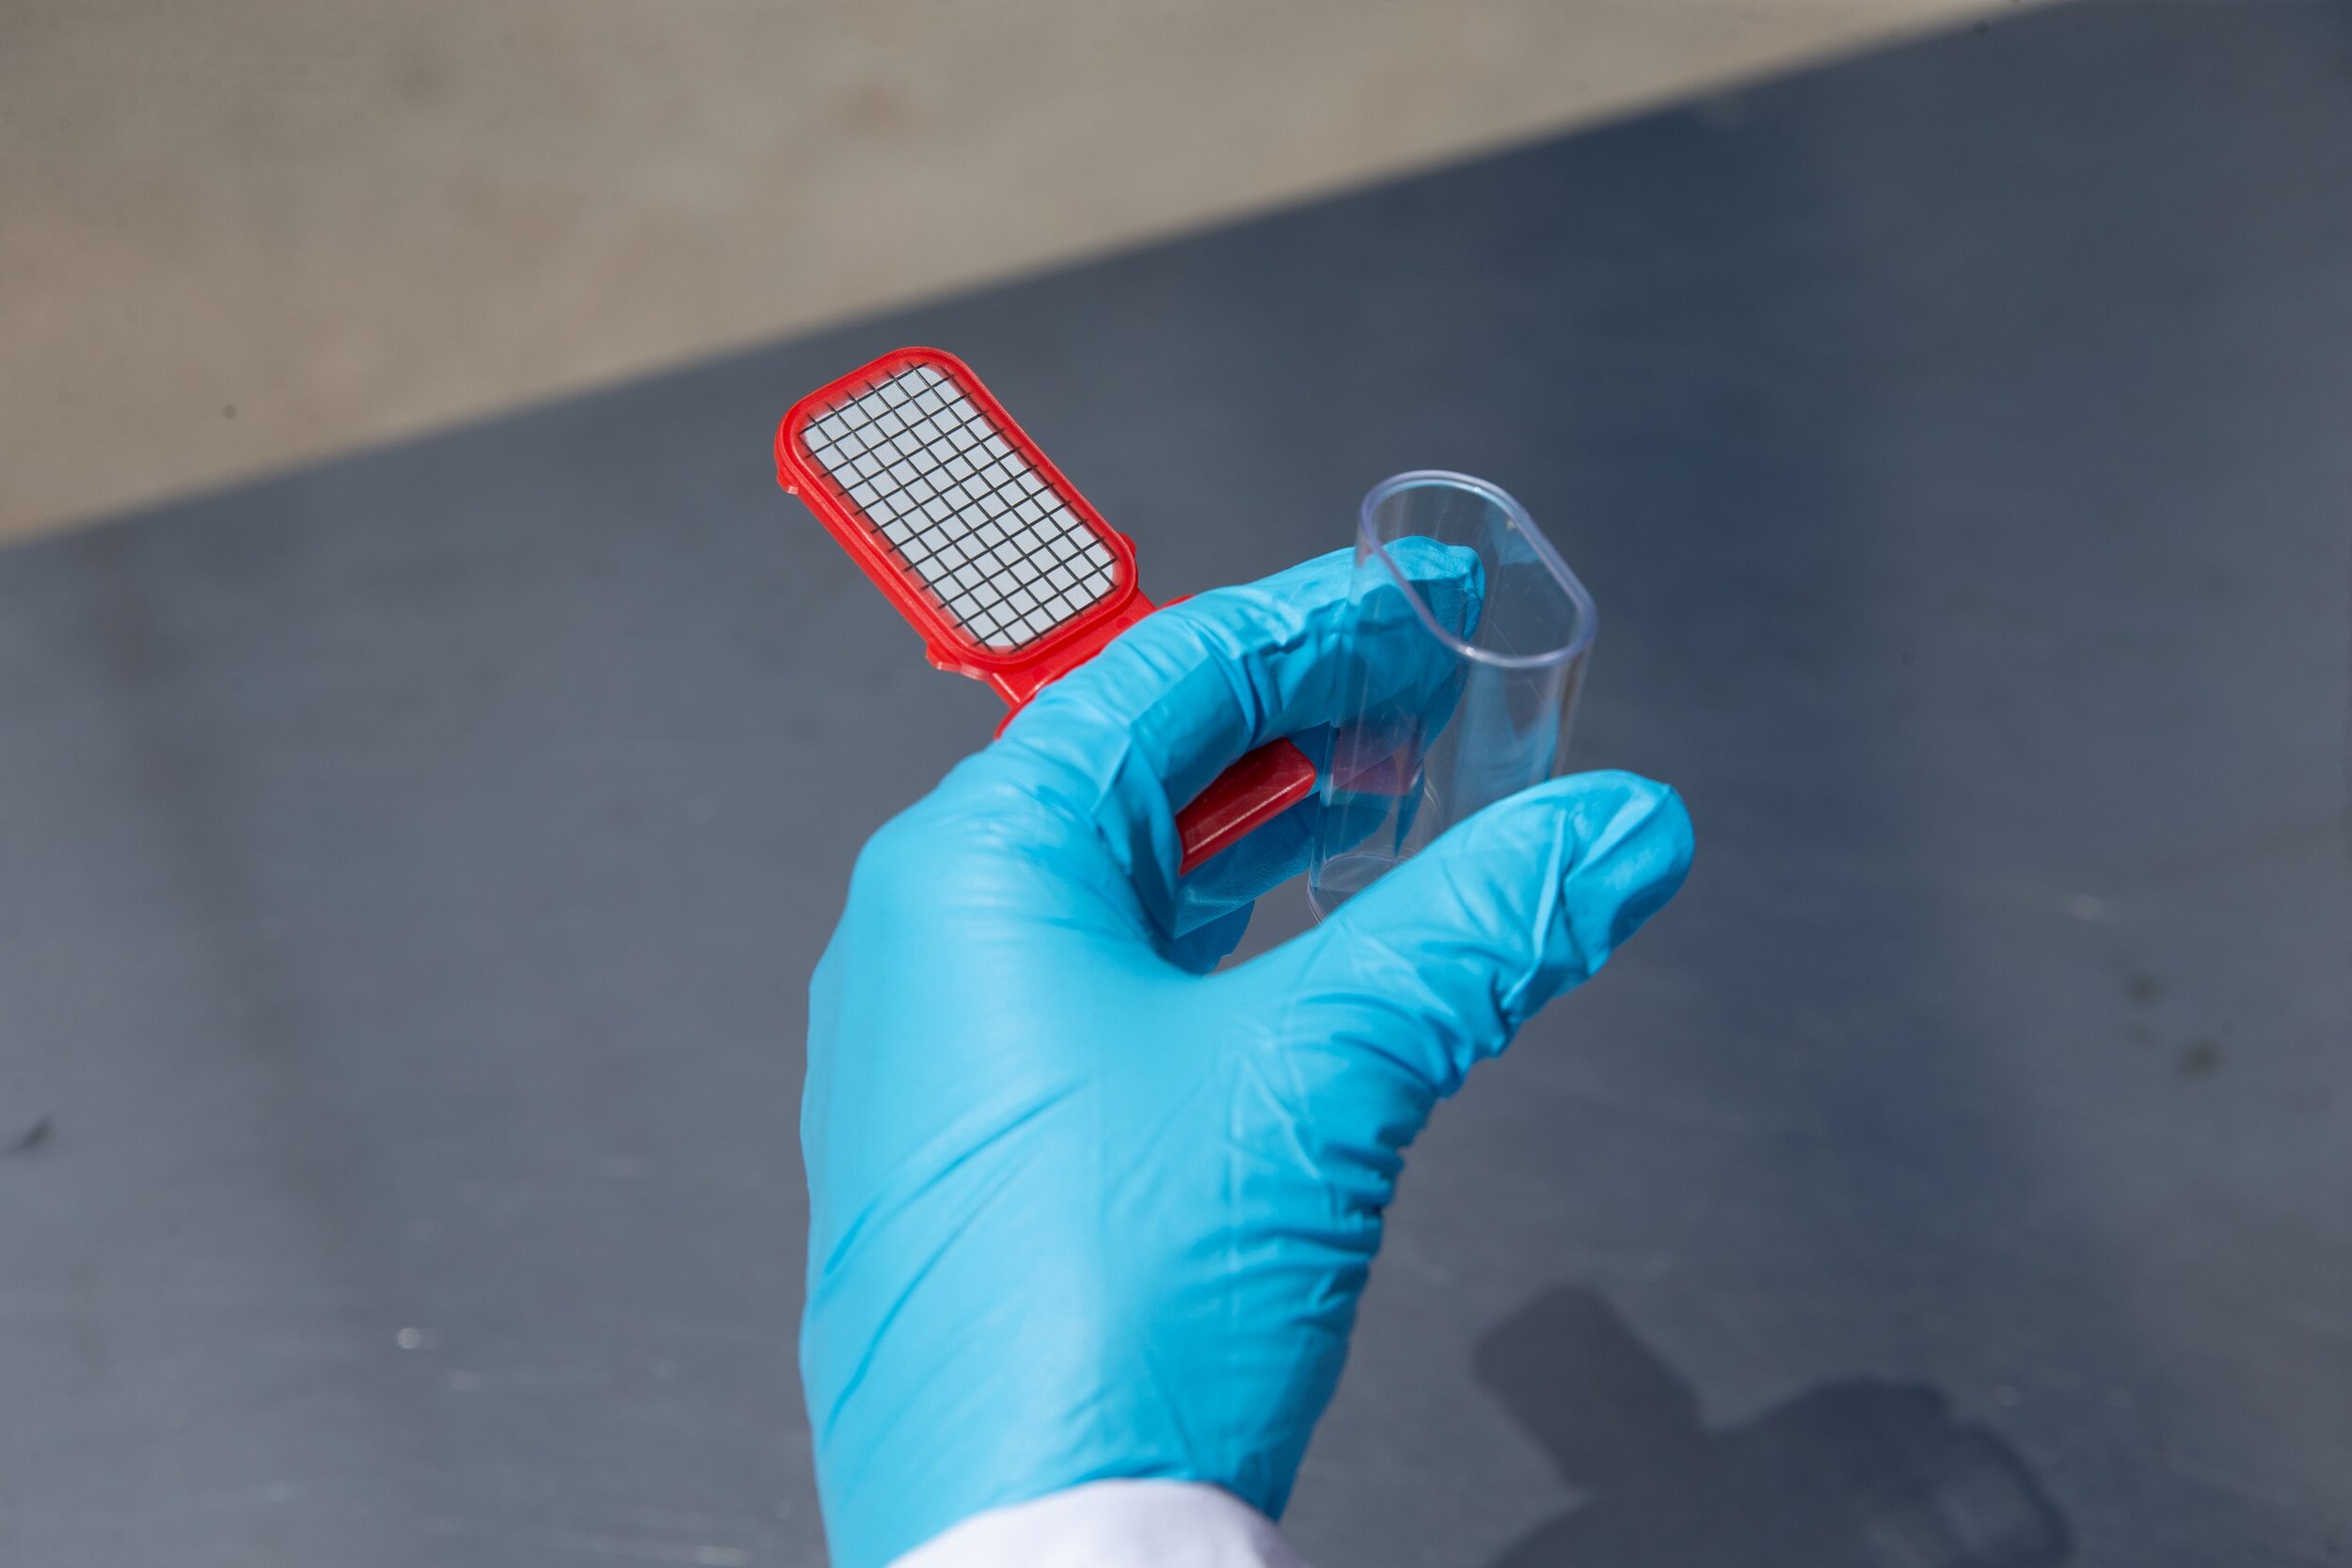
MyCheck provides a means for simple fast microbiological analysis of dental unit waterlines. Dental waterlines have been found to have high microbial counts even when the source water is treated or run through a system for cleanliness. Narrow bore tubes in the air/water syringe and handpiece lines are ideal places for biofilm to develop. The HPC sampler is constructed to combine both an intimate contact of a 0.45 µM membrane filter to a nutrient pad, and the incorporation of an air vent on the upper back portion of the paddle. This configuration allows for the draw through of 1 mL of sample water to affix microorganisms to the filter surface for subsequent culturing within its transparent plastic case. The filter is grid marked to aid in counting the microbial colonies on its surface. Each sampler assembly is packaged in a sealed plastic envelope.
Results in 72 hours
Accurate, proven technology
Easy-to-use
No overnight shipping required

Detailed Instructions
STEP ONE: PREPARING TO COLLECT THE SAMPLE
It is important that you collect water from a line that has been flushed out. Failure to perform this flush can result in artificially high microbial counts.
Flush waterlines for 20-30 seconds
Remove handpieces, syringe tips and/or insert from the ultrasonic scaler

STEP TWO: COLLECTING THE SAMPLE
You may sample water from only one of the dental lines per unit (choose the waterline that is used least frequently). Or you may collect water from each of the waterlines on a single dental unit and make a pooled sample. But you must collect a separate sample for each dental unit, each treatment room, or each water reservoir system that needs testing.
Remove the MyCheck Sampler from the plastic bag.
Use a black Sharpie to label the clear sample collection container with the date and sampling location. (e.g., room, doctor, or assistant cart).
Remove the red paddle from the plastic container. DO NOT put the paddle down, keep it in your hand facing away from your palm.
After flushing for the designated time, place the container into the fluid stream and fill the plastic container to the fill line. Do not touch the outlet of the waterline or the interior of the collection container.
Insert the red paddle into the plastic case and lay it horizontal, with the filter-side down.
Wait 30 seconds (timed with a watch) for fluid to be drawn through the filter.
After 30 seconds, remove the paddle from the case and discard the water.
Shake the paddle to remove residual water; then, being careful not to touch the paddle or membrane surface, firmly reinsert the paddle into the case for incubation.
STEP THREE: INCUBATING
For analysis of microorganisms in dental waterlines, incubate MyCheck with the filter-side down at a temperature of 75± 2°F (room temperature) for 72 hours. After 72 hours, examine the filter and count the colonies.
STEP FOUR: EXAMINING THE FILTER
After incubation is complete, remove the paddle from the case and examine the filter under bright sunlight.
The microbial colonies will appear as spots on the filter. Their appearance will vary, depending upon the microorganisms recovered. Generally, colonies are glistening and either translucent or transparent. Colors vary from colorless to white, cream, yellow, gray, or red. Sizes range from 5 mm to pinpoint. Edges may be smooth and rounded or rough and irregular.
STEP FIVE: COUNTING COLONIES
Count each colony, or spot, growing on the filter as a representative of an individual micro- organism. Count all the colonies, regardless of size, color, or shape.
Use the grid lines on the filter to help you count. Follow a pattern of counting, such as scanning from left to right across one row of gridlines, then down to the next row, and across the row from right to left. Some colonies will grow on the grid lines. To avoid counting these colonies twice, establish a pattern.
If the DUWL contains microorganism counts greater than 300 CFU/ mL many of the colonies may grow together on the filter, making them difficult to count.
In addition, the accuracy of such a count may be called into question. The count on such a filter is recorded as “too numerous to count” or TNTC.
Refer to the Colony Counting Chart

STEP SIX: DISPOSAL OF MYCHECK
Dispose of the HPC Sampler per local regulations for disposing of biohazardous waste. Prior to disposal, decontaminate it by autoclaving, incinerating, or treating with bleach solution (1:10 diluted household bleach in water for at least 30 minutes).
*In-office paddle tests may produce a “false negative” or variability in quantifying positive bacteria counts. Agenics Labs is not responsible for the failure of this product in its intended use, or for the actions taken based upon results.
STEP SEVEN: ROUTINE MONITORING AND SANITIZING
You should routinely clean the DUWL according to the manufacturer’s directions. The manufacturer has determined the chemicals needed to treat the unit, the contact time, and the frequency.
Then use MyCheck to verify that you are getting the results that the manufacturer has previously demonstrated*. If the microorganism counts are higher than the ADA recommended level of 200 CFU/ mL, closely evaluate your sanitization technique to be sure that the manufacturer’s directions are being precisely followed and immediately retreat the system.
If the source for your DUWL is tap water, you may experience seasonal variations in counts and in the types of microorganisms you recover. In addition, tap water can contain up to 500 CFU/ mL and be considered potable.
The frequency of monitoring and sanitizing will depend on past results, staff consistency, and the treatment protocol. By recording the sanitization schedule and the results of MyCheck tests, you can determine your compliance with the manufacturer’s directions. A sample record table is given below:
DOWNLOAD LOG SHEET